How to Crochet in Back Bumps of a Chain
If you’re wanting to improve the look of your crochet project you can learn how to crochet in the back bumps of a chain.
This makes your starting row look cleaner by giving you that V look of a crochet stitch at the bottom and top of that first row making it crisp and pretty!
Why Should You?
Crocheting into a chain is such a pain, but it can look better if you choose to do it into a back bump. When you crochet into the front loops you’ll get an okay edge, but when you crochet into the back bumps you’ll get that V shape that you get at the top of any crochet stitch so it looks so much nicer!
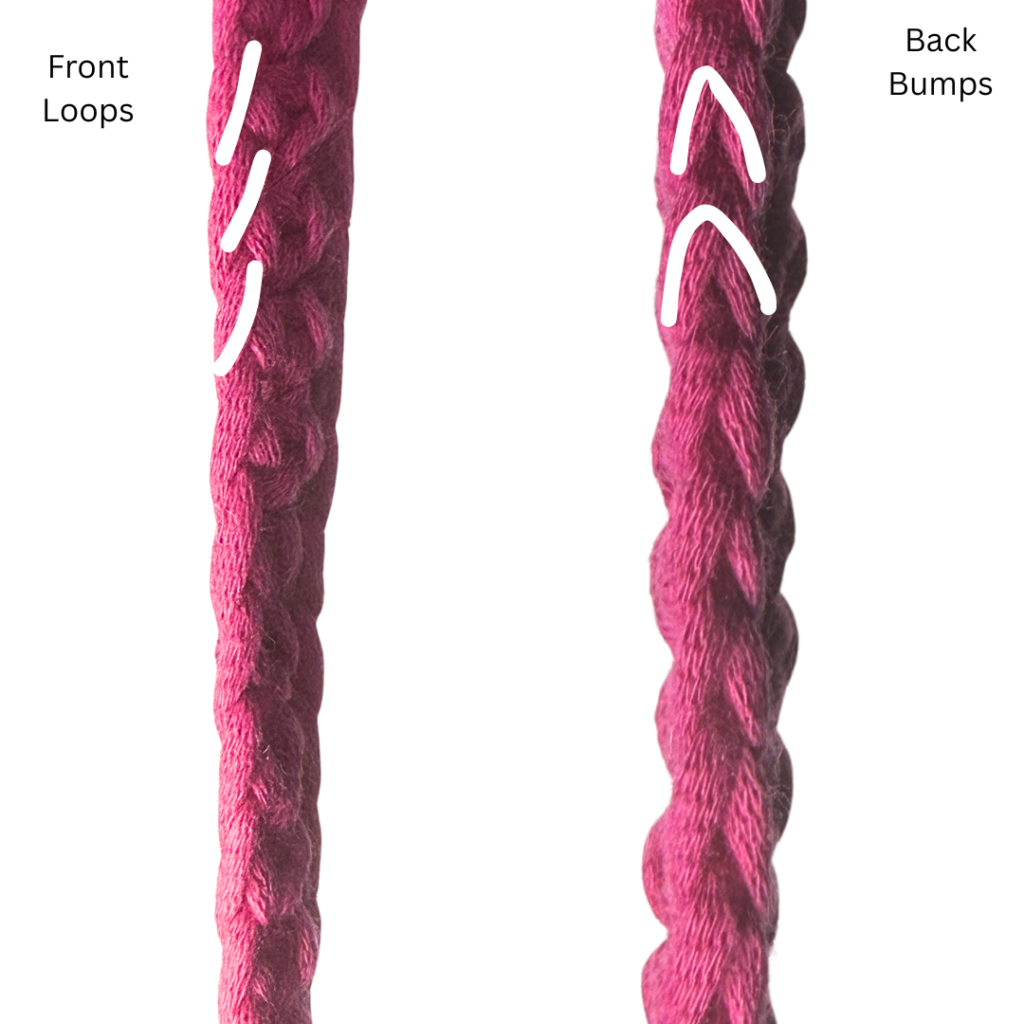
Where is the Back Bump?
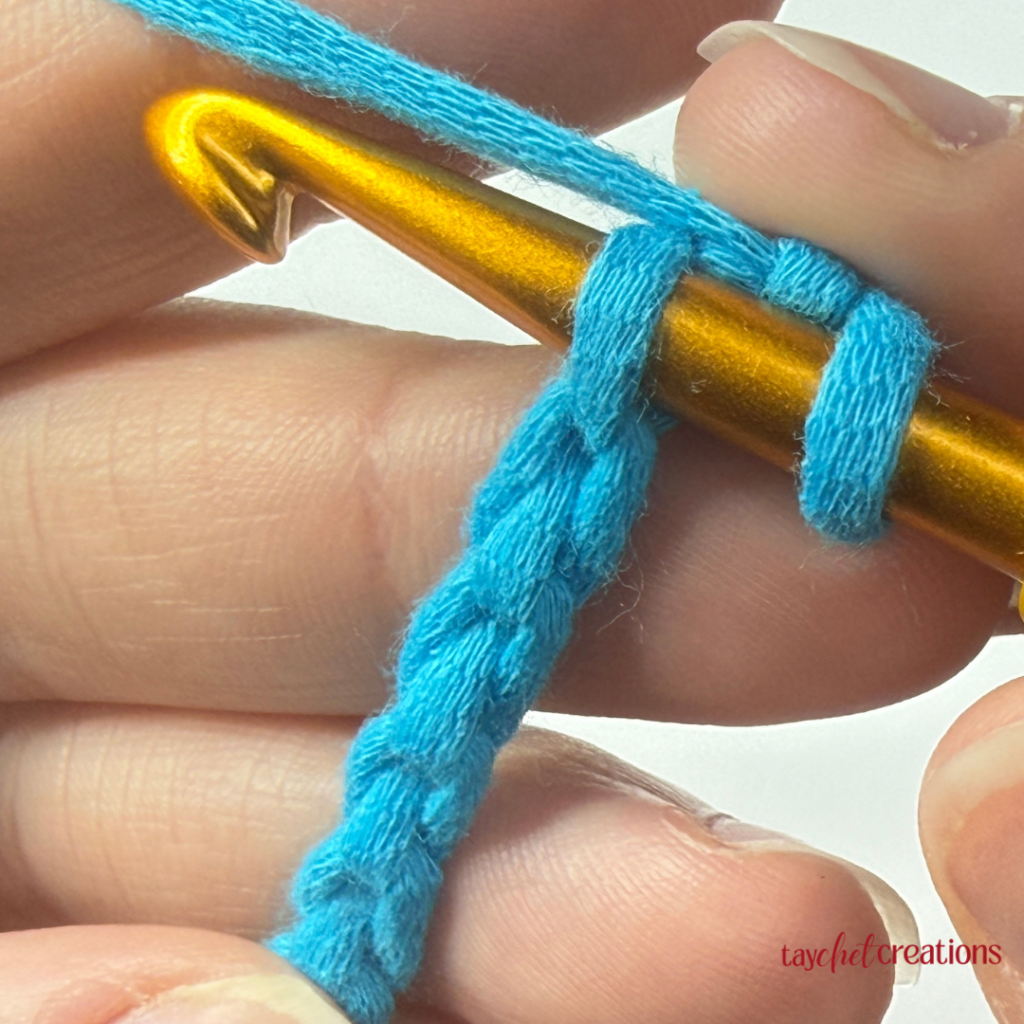
When you crochet a chain you’ll see a V shaped stitch looking back at you, and these are the front parts of the chain. These are what you would normally crochet into, but there’s a third little guy hiding in the back.
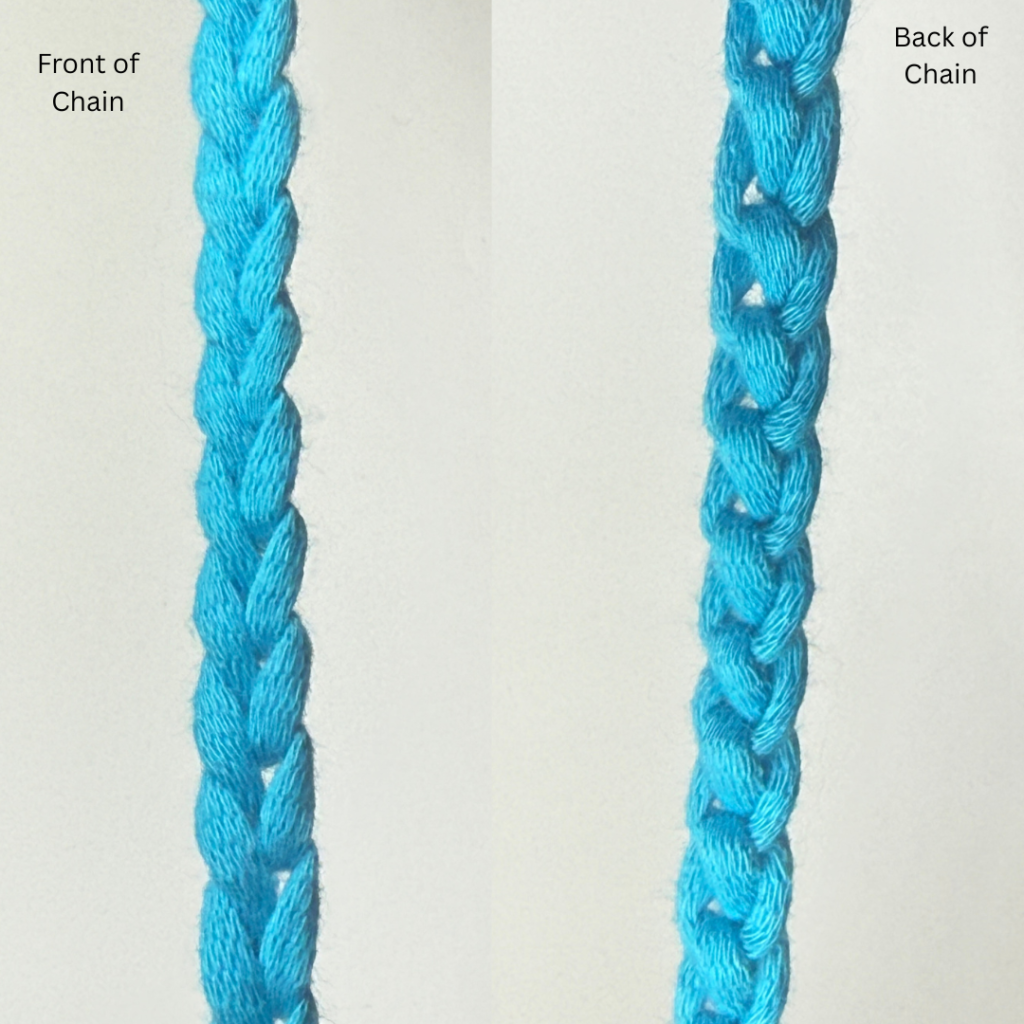
At the back of the chain you’ll see three things, first are the two parts that make up that V shape on the front and then there is a secret third guy who is in the middle.
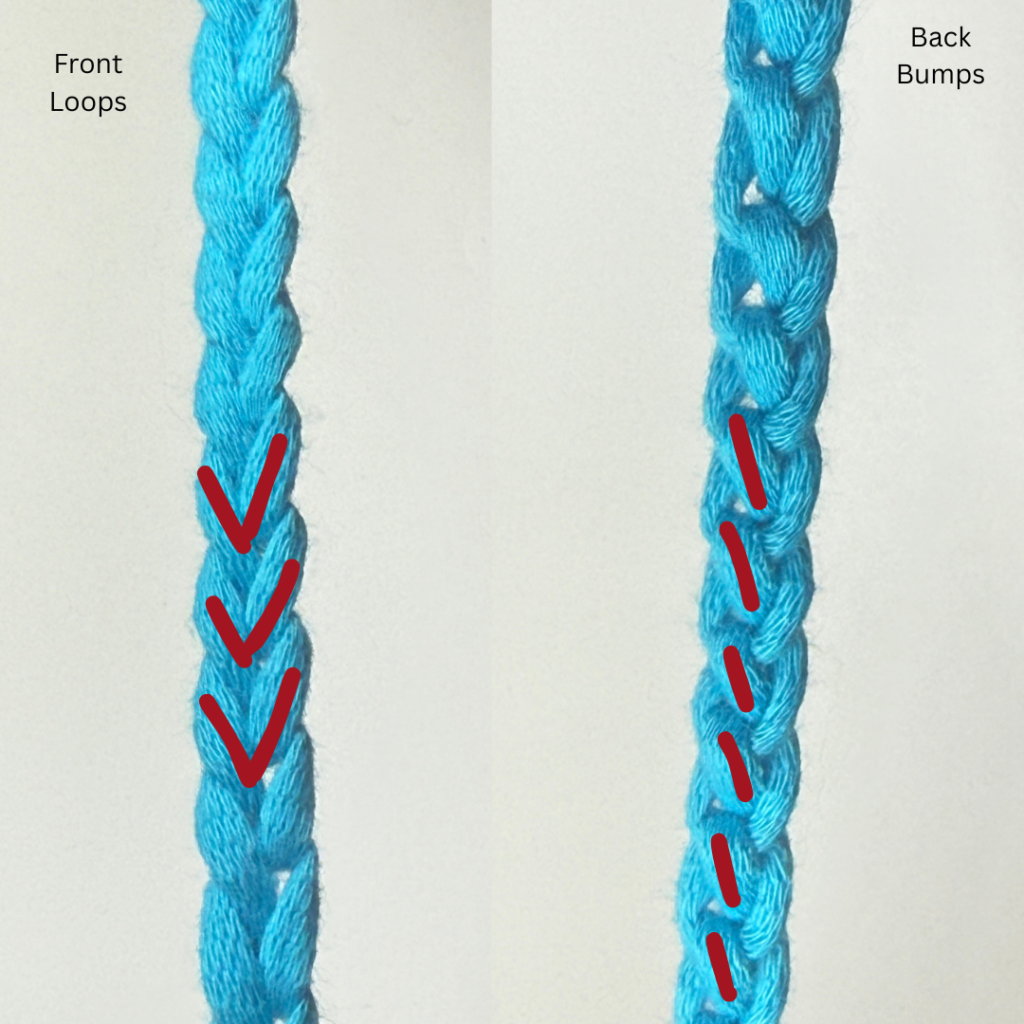
That secret third guy is the back bump where you’ll crochet into!
How to Crochet into the Back Bump
To crochet into the back bump you’ll create your chain of any length, then turn your work so the back of the chain is looking at you.
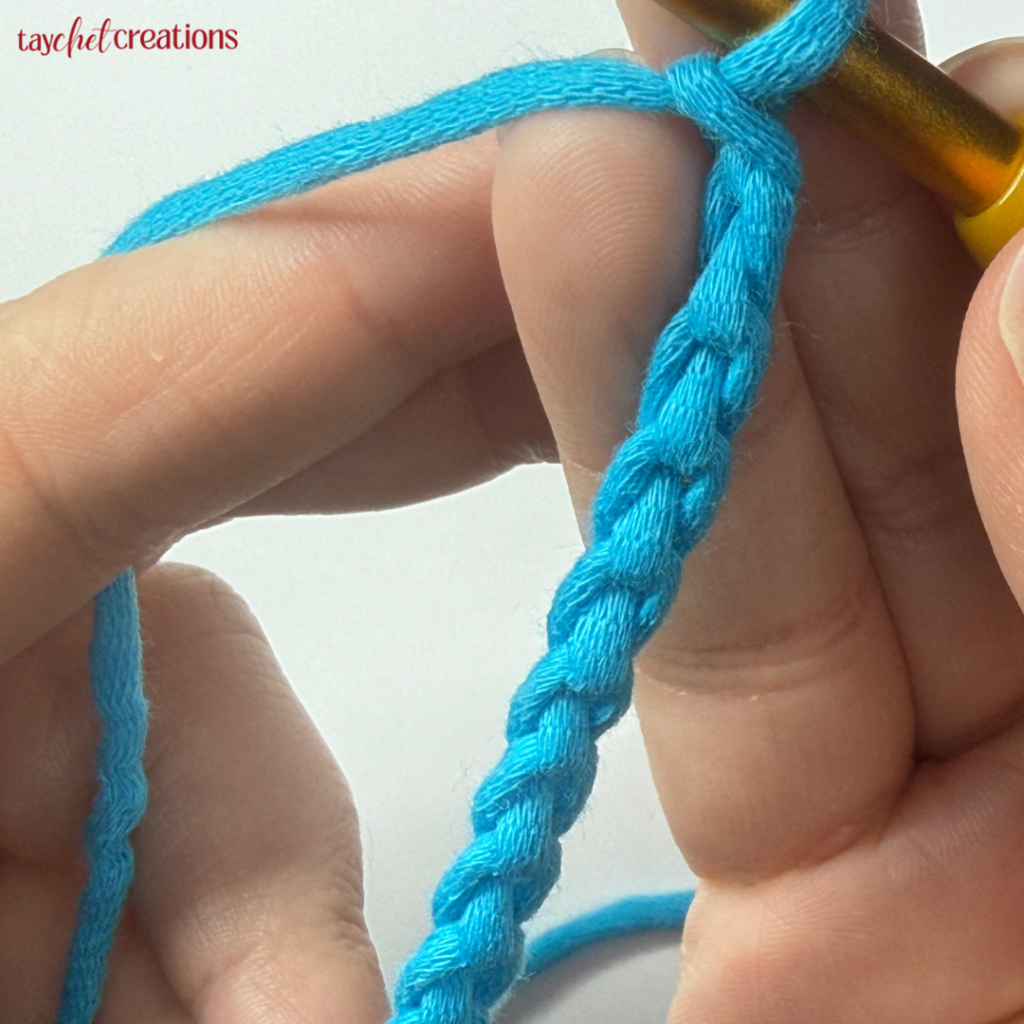
You’ll then want to insert your hook underneath that back bump while avoiding the other two parts of the stitch entirely. Then, do your crochet stitch as normal and continue down the row crocheting into the back bumps instead of the front V parts.